Clean Bike Wheels
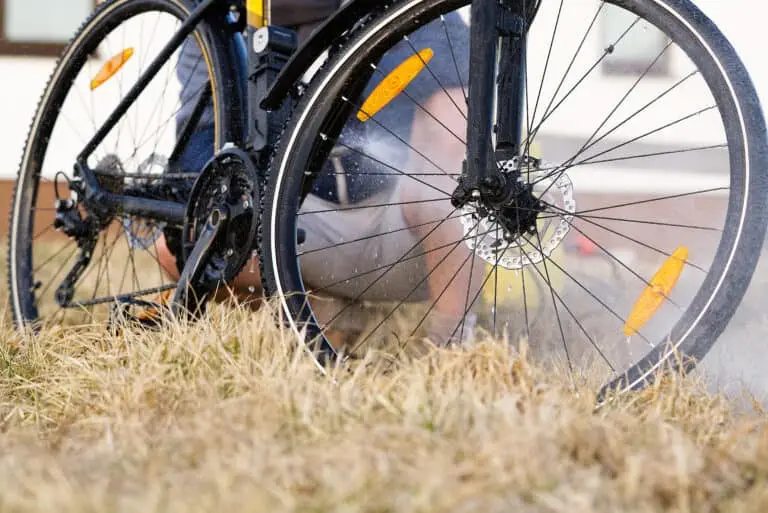
Looking to clean your wheels after an especially muddy ride or doing a bike spring clean?
Pretty much everything in our lives requires a regular clean to maintain it in top shape (yes even your TV remote!) and your bike is no exception.
We’ve all been there before, out enjoying a ride and we stumble into some heavy rain or particularly large puddle that just splashes all over us.
What now?
Fear not, over the years I have compiled all of my best tips and tricks, from the best cleaning products to use, (some of them you will already have!) to removing and deep cleaning those problem spots.
So, if you’ve got a dirty bike to clean and some extra time on your hands, read through this article and you’ll be able to leave those wheels looking and running like new!
Tip- Stay away from fidgeting with the brakes unless you’re a pro, and make sure you don’t overclean your bike chain as it needs grease to run smoothly.
Let’s go!

Things you’ll need
Cleaning bike wheels may seem to be an easy task but it can be challenging if you’ve never done it before. Rest assured you won’t need to got to the shop for this we’ll be using what’s lying around your home already.
Before you start the process, you need to have all the important cleaning items. I recommend having these on hand:
- An old rag or two – You’ll be needing any old rags for preliminary cleaning and drying.
- Steel wool/scrubbing pad– This is good for a more in-depth clean to get stubborn dirt out.
- Bucket with warm water- self-explanatory.
- Toothbrush- Not your toothbrush, just an old one or a separate one you use for cleaning.
- Scrubbing pad or soft sponge-This is good for the less dirty stuff.
- Any grease detergent like Dawn- The stuff you use to wash up your dishes can be really good for your bike too
Optional extra tools for a deeper clean:
- Rubbing alcohol- Once you’ve degreased, isopropyl alcohol or even acetone is good for finishing up the clean and removing black marks from braking.
- Fine grit sandpaper- Mostly for the brake pads if you clean them.
- Lube– for extra greasing power on your chain

How to remove the wheels
Before you can get started with your bike cleaning, you’ll need to remove the wheel from the bike to ensure you can get to all the spots easily, and find a room with lots of space to do your cleaning. Another option is putting your bike in a stand.
There is a quick-release mechanism on the wheel, you will be able to remove both wheels easily using this. Once you press the quick-release, disconnect the brakes and then you can just slide the wheel off.

Cleaning your wheels
Here is a step by step guide on cleaning each part of your wheels:
Cleaning your Cassette
The first thing I recommend cleaning is the cassette, as this is part of the drivetrain and is very greasy. You don’t want any of that to go onto your wheels. Start by removing any excess dirt between the cogs by using a small brush. Some people like to use a park tool.
Grab a rag and slip it in between the cogs in a flossing motion until each cog is properly cleaned. I sometimes spray some rubbing alcohol if there is some stubborn dirt and a toothbrush for detailing.
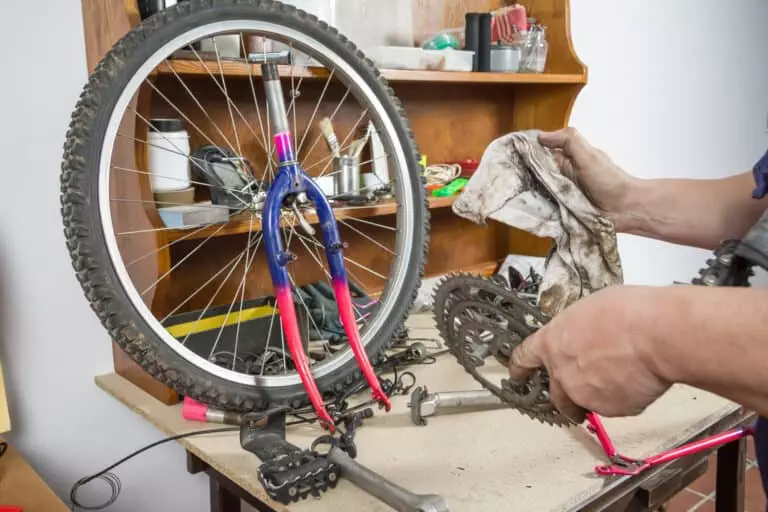
For the pros out there who want an extra deep clean for their drivetrain, I like to remove the cassette entirely with a tool or two. This is so I can wash it without getting dirt all over the rest of the wheel, plus the hub is all free to wash like that too.
Hubs
Now that you have the cassette all done, it’s a good idea to move onto the hubs. Start with the axles by wiping using a rag, or for the tougher spots grab the toothbrush then wipe.
For the hubs themselves, you can take the sponge and scrunch it between the spokes and keep pushing it around the spoke bends and heads. you can also use the sponge for the outside of the hub too.
If your bike has disc brakes, then you can wash the rotors at this point too. A tip- look out for thinning or deeper grooves on the disc brakes as this can be a sign you need to go to the shop to change your rotors.
Braking surface
Take steel wool or a scrubbing pad and use a degreaser for better results. Once you’ve done that, you can wipe it down with rubbing alcohol and a clean rag to remove the degreaser as you won’t need to rinse the braking surface that way.
Your bike will thank you and your braking will be much improved after this!
Brake pads
I would not recommend moving the brake pads around too much as you can put them out of alignment when you brake. If you want to wash brake pads, grab the fine-grit sandpaper and you can gently rub them on the pads to get rid of any dirt. This will help your tires wear down less easily.
Be careful when washing the brake surface, do not get any lube from the chain on them as this affects your braking when cycling. Lube should only be used on the chain.
Spokes and Nipples
Most bikes will use stainless steel spokes so you can use the sponge and dish soap for this. Give them a good soft scrub in between all the spokes, ensuring you wash each part of the spoke.
As you work your way up to the rim, you can wash the spoke nipples in detail. If you experience any ticking sounds, use some Tri-Flow at each spoke cross to lube them.
Rims and Tires
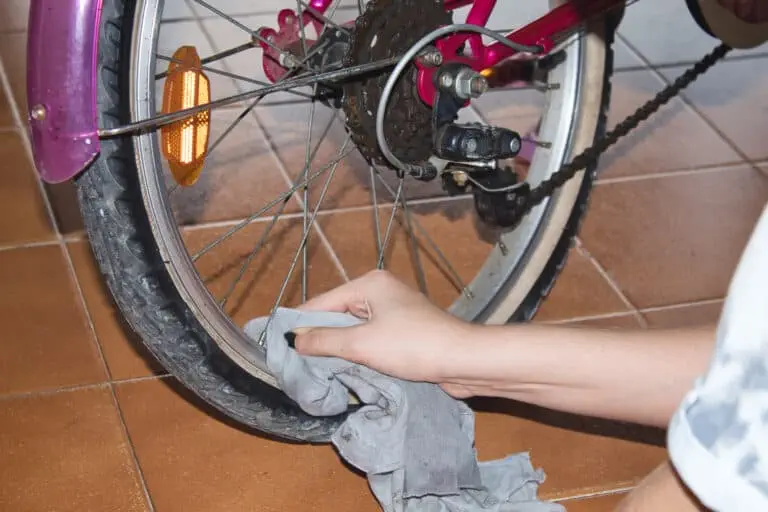
Taking a damp clean rag, wipe over the wheels first to remove any particles of grime or dirt that are visible to you. You can then take your scrubbing pad and soap to scrub the rims in the direction of the rim brakes.
Make sure you do both sides of the rim and continuously rinse and use a degreaser.
You can start with the bottom and sides of the rims and tires. Then push the sponge around in between the surface of the spokes to get to each section around the wheel, and you can run it through the rim on both sides at the end.
Don’t forget the top tread and the sidewalls as well as the rim.
Spray on some degreaser and scrub any areas that need more time. Doing this regularly will save you time when out riding and will maintain your frame in better condition.

Final checks
My advice is once you’ve finished properly washing the wheels, it’s a good idea to give them a check over to see if anything is wearing out. For your rims and tires, check where the spoke nipple meets the rim if there is any cracking.
You can also check the rim brakes and the side of the rims if there are any deep grooves or signs of wear now that the grime is gone. Check the rim and tread and sidewalls for baldness or stone damage. Search your brake pads to stop squealing during braking.
The rim is often a problem spot, so be careful with that and the brake and chain too.
These maintenance checks is a whole other job but it can help you to identify early when it’s time to replace something like a rim before an accident happens.
Especially for your brakes, you want to ensure they are in good condition and that there is zero grease anywhere on them. This will give you plenty of time to get to the shop or do a repair without affecting your rides.
Remember, ensure you are using something biodegradable and noncorrosive for rims and spokes. The number of times I see people using aggressive soap that can actually reduce the life span of your bike is insane.
Final Thoughts
I love the feel of a clean bike, ready to take on whatever the ride today has. If you are a new bike owner, cleaning the wheels of your bicycle may not be very easy.
Whether you use this website or check out a video, it can help remove the pressure as a beginner. You will be glad you did when you did cycling
However, with a bit of help, I know this is something that gets easier and you may not even need to put your bicycle in a stand. Soon you’ll be giving your bike wheels a quick clean after going out riding even when it doesn’t rain!
Search on this site for related articles and tips for your bike.
This article covers everything to do with cleaning your rims, pads, the brake, so you can cut the grime, check for signs of wear, and keep your tire in top performance. It can even increase your bicycle life span.
If you liked this then you should check out my related article on this website for washing and caring for your bike frame, so that the frame is not left out when you next do this!
Could there be anything more satisfying?
Sources:
1. How to Replace a Bicycle Spoke – Post by How Stuff Works
