Whether you’ve signed up for your first century or considering one soon, let me give you a hearty welcome!
As you probably know by now, a century is a 100-mile bike ride that the cycling community hails as a rite of passage.
I’m going to help you create a training plan and share some personal pitfalls to avoid as a newbie to the sport.
To accomplish this, I’m going to assume:
- You’re new to cycling but own a road bike.
- You’re not starting from ground zero regarding fitness.
- You can dedicate three days a week to training.
As with any new workout regime, always check with your doctor to ensure you don’t have any health-hampering issues.
Also, age is a factor to consider when training for a century.
While I won’t have time to delve into training challenges for those over fifty, there are plenty of seniors who ride and compete in cycling events.
Most importantly, I want you to be encouraged, equipped and prepared, so that come ride day, you’ll not only finish but do so with a smile!
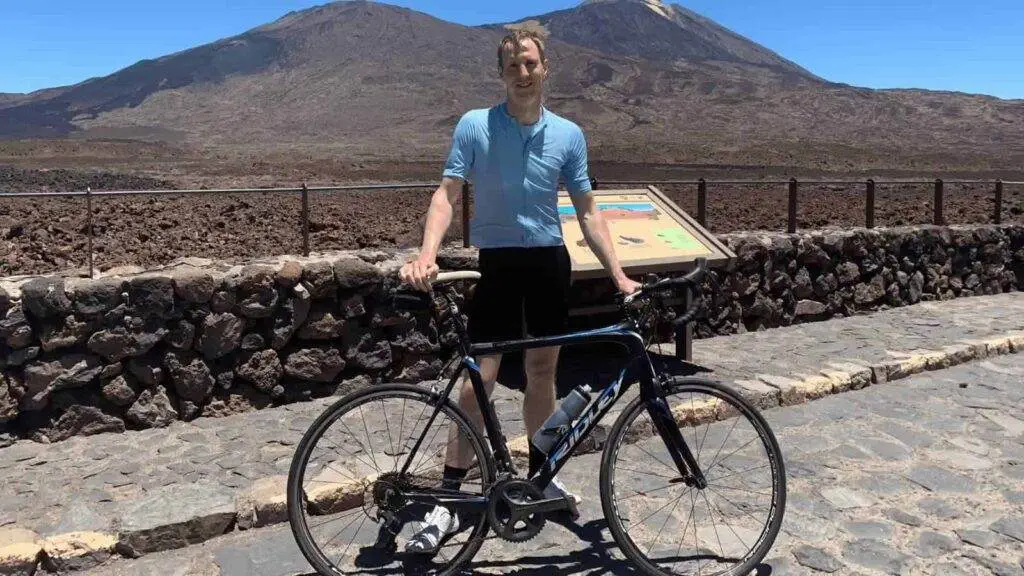
What is A Century?
As I’ve already mentioned, a century is a 100-mile bike ride that is a one-day event and typically has a time limit for safety reasons.
While you can ride a solo century, I strongly urge beginners to sign up for an organized ride. Here are my reasons:
- SAG support. SAG is an acronym for “support and gear” and means the organizers have vehicles to aid cyclists who get flats and other mechanicals. At some events, SAG vehicles carry riders and bikes back to the start if they have a mechanical or personal issue that prohibits them from finishing.
- Rest stops. While you should carry plenty of liquids and snacks, rest stops have heartier snacks like peanut butter sandwiches, fruit, gels, and sports drinks. They also have Porta-Johns and sometimes shaded areas, which you’ll relish on hot days. Rest stops are also a great place to reconnect with riders from your group and meet new people.
- GPS route. An organized ride has done the hard work of mapping out a fun yet safe route that you can download onto your bike computer.
- Police support. Most centuries have police support at critical intersections to ensure cyclists get through safely and efficiently.
- Camaraderie. Organized rides are a wonderful place to meet like-minded cyclists and check out the array of bikes on the road.
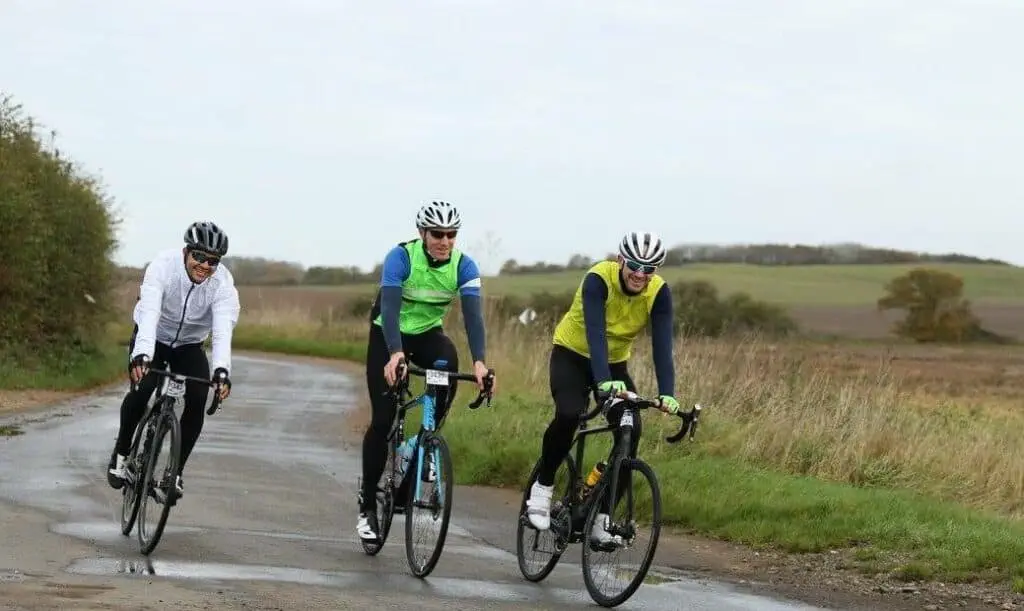
Types of Centuries
I suggest riding your first century close to where you live. This way, you’ll be accustomed to the terrain, whether flats, rolling hills, or challenging climbs.
Some centuries are created by local clubs and serve as fundraisers, while organizations like JDRF and the American Cancer Society offer rides that require fundraising to participate.
The latter is very rewarding since you’re raising money for a great cause which can help motivate you during the training season.
Training Schedule
I remember signing up for my first century back in the 80s. I was elated that I got into the limited event and would be tackling this epic adventure! Several days later, my decision hit me like a Mack truck: “100 miles?! What have I gotten myself into?”
If you’re feeling this way, relax; it’s normal. As with any large undertaking, the key to success is developing an action plan that you can manage with your lifestyle and then working the plan.
Key Target Dates
The first thing to do is determine two key dates:
-Your “Big Kahuna” ride (which I’ll explain shortly)
-When to begin your training
Let’s unpack this with a sample century. You and some friends gathered after the Holidays and have decided to get serious about cycling and getting in shape. Collectively, you signed up for a regional century on the second weekend in June.
You can rename this whatever you want, but to find when to do your “Big Kahuna Ride,” back up two weeks from the century ride. On this day, you and your group need to ride an 80-mile route at a pace comparable to what you’ll do on the century ride day.
Next, you back up four months from the century start date to mark when your training begins. Using our example, this would be sometime in February.
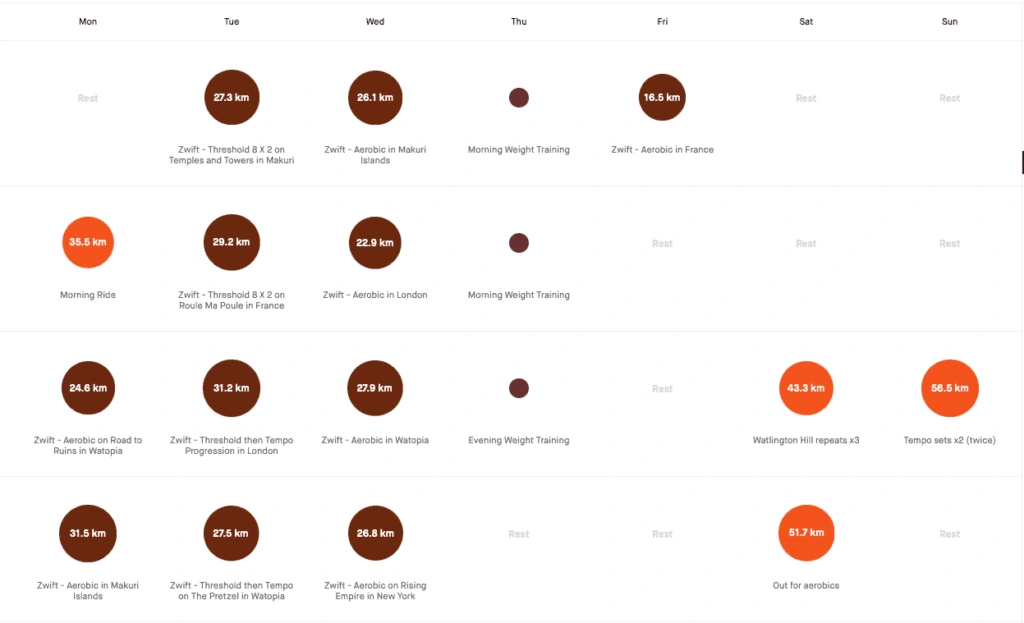
Can you start training sooner? Yes! But with any new training regimen, begin with easy efforts and build your base endurance before trying online racing or more intense workouts like hill repeats and intervals.
Before we go any further, I need to define some basic training terms:
- Base Training. You should be able to carry on a conversation when cycling in this mode; you’re building up your endurance. If you’re out of breath, slow down. If you’ve barely broken a sweat at the end of the exercise, then you need to dial it up a notch.
- Tempo Training. For this training, you will exert more effort (watts/power) and only be able to converse in short sentences.
- Interval Training. Interval training is used only after developing your base fitness. They are short but intense efforts and you won’t be able to talk while doing them, although I’ve cussed under my breath a few times!
Training Plan for Your First Century
Below is a 16-week training plan infographic you can use as an example of the type and frequency of training sessions you can do, building up intensity over the weeks and getting you ready for the Century Ride!

Key Takeaways
Hopefully, you observed that each month rises with intensity and declines before attempting the longest ride of the month. Remember, this is merely a model that can be adjusted to fit your development, age, and lifestyle.
Additionally, Murphy’s Law will impact your training plan. Weather, illness, family, and work will alter your ride schedule, so take a deep breath, adjust, and stay on the plan as best you can.
And as tempting as it will be to log big miles the week before your event, don’t do it! You can’t “cram” for a century like you did for college midterms! It’s much better to rest, hydrate, and eat a healthy diet to prepare for the big day!

Location, Location, Location
Cycling outdoors is doable if you live in warmer regions where winter temperatures are around 40-50°. But for most riders, especially those closer to Canada, freezing temperatures and icy roads make outdoor training dangerous or impossible.
Indoor Training
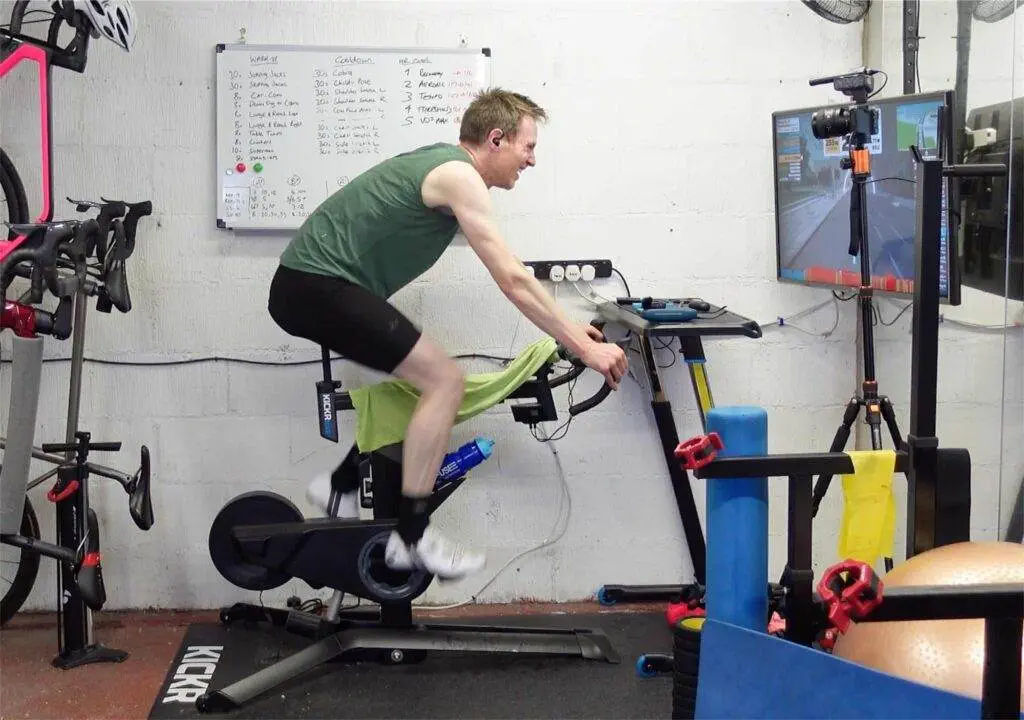
If you can’t ride outdoors to initiate base training, indoor training is your best choice.
Here are some indoor training options listed from most to least expensive:
- Peloton. If you currently own a road bike, I suggest not purchasing a Peloton (or something similar) because you can get a good (if not better) workout using your bike. But if you started your cycling journey on a Peloton, use my suggested training plan with corresponding exercises offered by Peloton.
- Smart Trainer. The advantage of using these trainers is that you develop fitness on your bike and get your legs, core, arms, and back accustomed to riding. Also, when connected to a training app (listed below), you get indoor workouts that are challenging and entertaining.
- Low-end Trainer. For the budget-minded rider, a less expensive trainer can give you a great workout like the above models. And if you’re a savvy shopper, you can find a used one online or at a locally used sporting goods store. To take advantage of some training apps, you’ll need to purchase a power meter or a speed/cadence sensor that can estimate your power (watt) output.
Riding Indoors Can Be Fun!
Riding indoors back when I began in the 80s was limited to rollers or fan-based trainers. You either listened to music or watched movies as you pedaled your life away! Talk about dull.
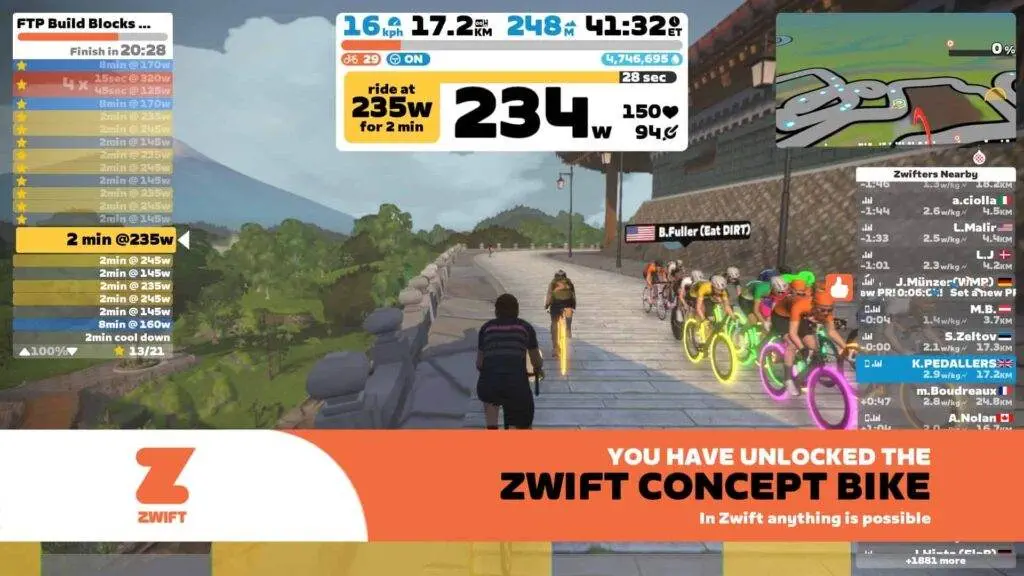
Nowadays, programs and apps like Zwift and TrainerRoad make training indoors enjoyable and beneficial. While I won’t go into detail on each of these in this post, each offers unique training advantages worth exploring.
Zone Training
I don’t have time to dive into the minutia of the benefits of zone training, but I do want you to be aware of the three types:
- Power
- Heart Rate
- RPE (rating perceived exertion)
Power measures your wattage output (force) when pedalling, and many cyclists, myself included, consider it the most accurate model to use. The downside is you’ll need to purchase a power meter which isn’t cheap.
But if you’re serious about becoming faster and riding at peak performance, you’ll want to invest in a power meter.
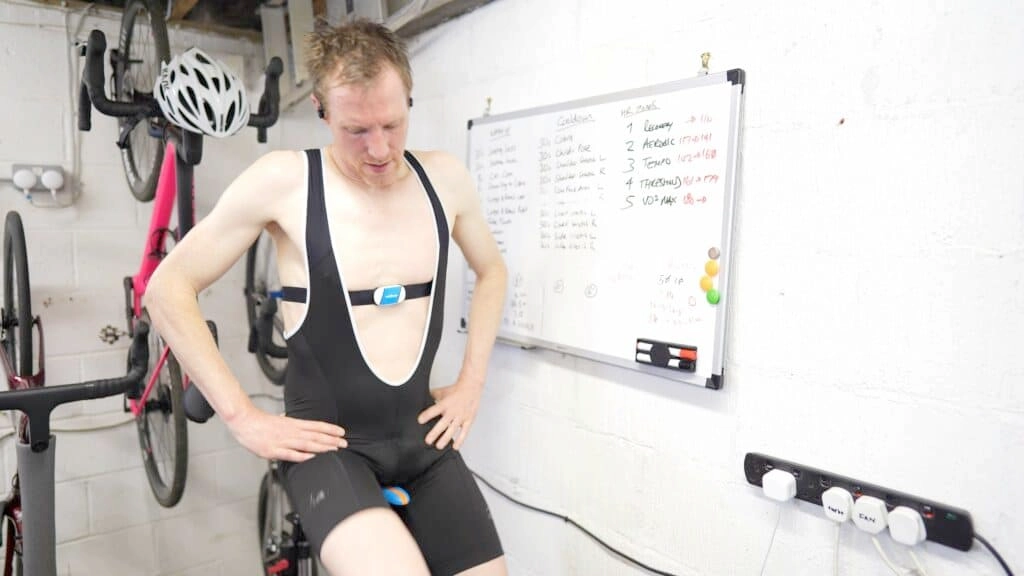
Heart rate training is a powerful tool for optimizing your cycling regimen, and it hinges on using a reliable heart monitor that connects seamlessly via Bluetooth or ANT+ to your bike computer.
Training in targeted heart rate zones is invaluable for improving endurance on the bike. The Polar P10 Heart Rate Monitor stands out as an affordable yet accurate choice for cyclists looking to incorporate heart rate monitoring into their training without breaking the bank.

RPE, or Rate of Perceived Exertion, is a fancy term for “listening to your body” while exercising. It’s an acquired skill, so as a novice, I’d urge using one of the other models listed above. Nevertheless, many recreational cyclists use RPE for training purposes.
Training Terms
Whether you explore zone training or not, it’s good to understand training terminology.
- FTP. Functional Threshold Power is the highest average power you can sustain cycling for one hour and is measured in watts using a power meter. If you plan to use power zone training, you’ll start by taking an FTP test on your bike. While these are anything but fun, they are crucial to getting a starting point for your training.
- Aerobic. Aerobic exercise builds endurance and will be the bulk of your training regimen. This exercise improves the body’s ability to tolerate workloads by improving one’s cardiovascular system.
- Anaerobic. The literal definition means “without oxygen,” and this exercise breaks down glucose without oxygen. Anaerobic exercise is key to developing power and speed and uses intense but short exercises like all-out sprints, intervals, and hill repeats.
Pitfalls to Avoid
As promised, here are things I learned the hard way, so you don’t have to repeat my blunders!
Ride Day Pace
For my first century, I joined over 3,000 other cyclists for an early May ride. When pace lines zipped by, I hopped on for the ride of my life!
It was thrilling, fast, and I felt destined to ride in the Tour de France! But at mile 75, my body screamed, “Idiot! You burned up your energy, and your muscles are cramping!” I finished in agony but learned a valuable lesson: ride within your training.
Food & Drink
As you build up mileage in training for your century ride, remember to regularly sip water and refuel before hunger or thirst set in to avoid “The Bonk” (hypoglycemia or glycogen depletion).
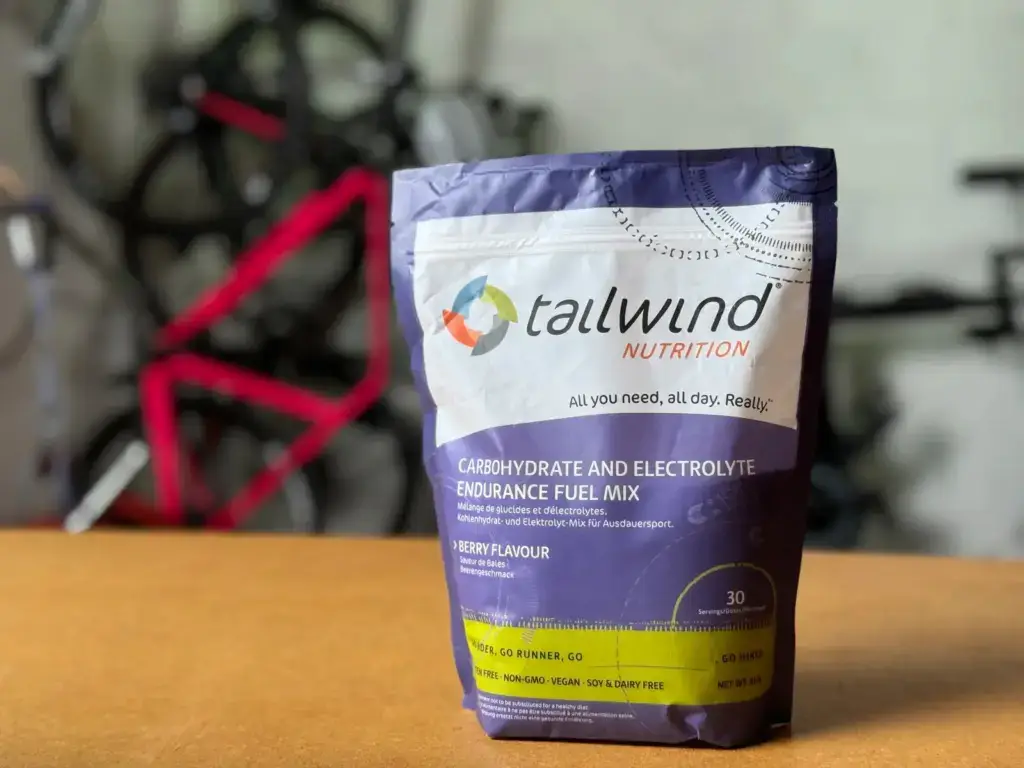
For a consistent energy supply, Tailwind Endurance Fuel Drink Powder Mix is a go-to choice—it blends hydration, electrolytes, and energy in a formula that’s easy on the stomach and perfect for long rides.
Having this in your bottles will ensure you’re always at your best as the miles add up.
For those moments when you crave something solid, Clif Bar Minis are the perfect complement—small, convenient, and packed with nutrients, they fit easily into your jersey pocket, giving you a tasty boost without weighing you down.

Burnout
Training for a century requires stamina, commitment, dedication, and mental fortitude. If you’re not careful, it’s easy to get workout burnout later in the season. To avoid this, add variety to your training routes, like stopping for coffee, a pastry, or a post-ride beer. Consider joining a cycling club to learn new courses, find like-minded riders, and get some pointers along the way.
Bike Fit
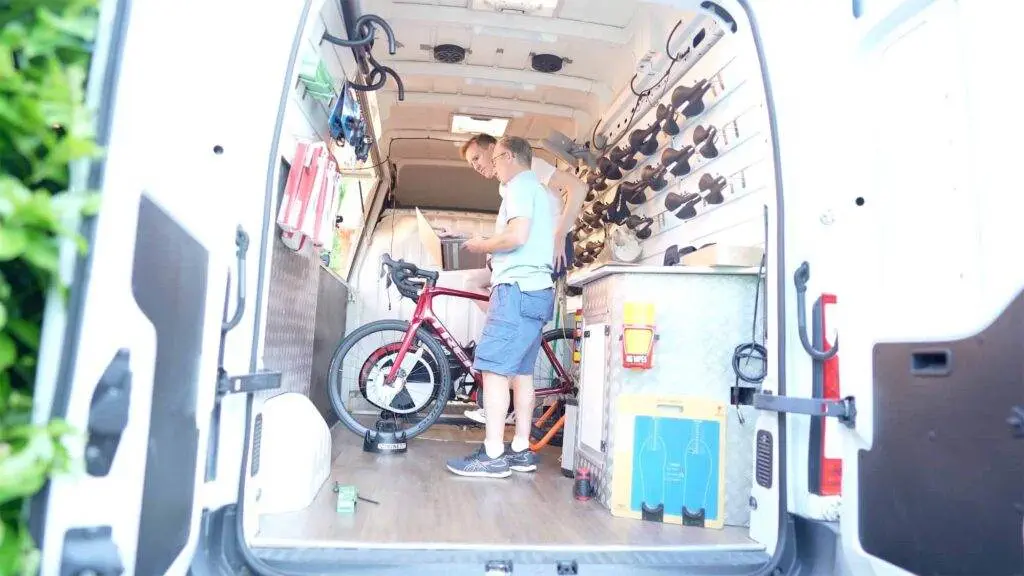
While a bike fit isn’t cheap, it’s worth the investment, especially before you begin training. While some local bike shops (LBS) equate this to straddling the top bar, an in-depth examination at your LBS will make long-distance riding enjoyable and help you avoid injuries and discomfort.
How Long Does it Take to Ride a Century
There are a number of factors that will affect just how long it takes to ride 100 miles. This includes the rider’s fitness level, route profile (hilly vs flat), the number of coffee stops, even the weather.
Looking at how long does it take to bike a mile on average, and taking the typical time of 3.5 minutes per mile for a club rider – then your moving time will be around 6 hours. It just depends how many times you stop for food (and a wee!).
We had a look back at the first century ride done by one of the PEDALLERS team, and their total riding time was … 6 hours 12 minutes!
Frequently Asked Questions
How do I prepare for a century bike ride?
The key word in this question is PREPARE! Don’t just rock up with no training in the tank and expect it to go well. Follow the training plan. Figure out when during the day you can train (early mornings, evenings), and stick to it as much as you can.
The day before the century ride, it’s time to get all your gear in order. Lay out your kit—shoes, helmet, sunnies, and don’t forget the sunscreen.
Make sure your bike is in top condition, double-check your spares, and organize your ride food and energy drinks, along with a post-ride protein source.
For sun protection that lasts, I recommend P20 Once a Day Sunscreen. Its long-lasting formula means you can apply it before you set off and stay protected throughout your ride without the need for reapplication, letting you focus on the road ahead.
Instead of “Fail to Prepare, Prepare to Fail” – get prepped, and turn up on the day and nail it!
How long should I train for a century ride?
It depends on your starting level of fitness, but for those with a reasonable base fitness, then following the 16-week plan in this article should deliver you to the level needed to complete the century ride.
Just try to be consistent in your training sessions and efforts.
Conclusion
While many of these topics require a more in-depth examination, you have plenty of information to begin training for your first century.
I hope you feel encouraged to tackle this challenging adventure, and when in doubt, do what the legendary Belgium rider Eddy Merckx advised: “Ride as much or as little, or as long or as short as you feel. But ride.”
