
If you’re ready to transform your indoor cycling setup and maximize your training potential and learn how to set up a bike trainer, you’ve come to the right place! In this guide, we’ll walk you through on how to set up a bike trainer from A to Z.
We’ve also got expert tips and tricks to help you along in your training journey.
Key Takeaways
- Choose a quiet and spacious location with a flat surface for stability and to minimize disturbances.
- Follow specific instructions for setting up wheel-on or direct-drive trainers, including tire and skewer adjustments.
- Ensure the bike is securely mounted and aligned properly on the trainer to prevent accidents.
- Adjust the trainer’s resistance to simulate various terrains and match your training needs.
- Utilize tips like proper warm-up/cool-down, hydration, and using a fan for a safer and more enjoyable indoor cycling experience.
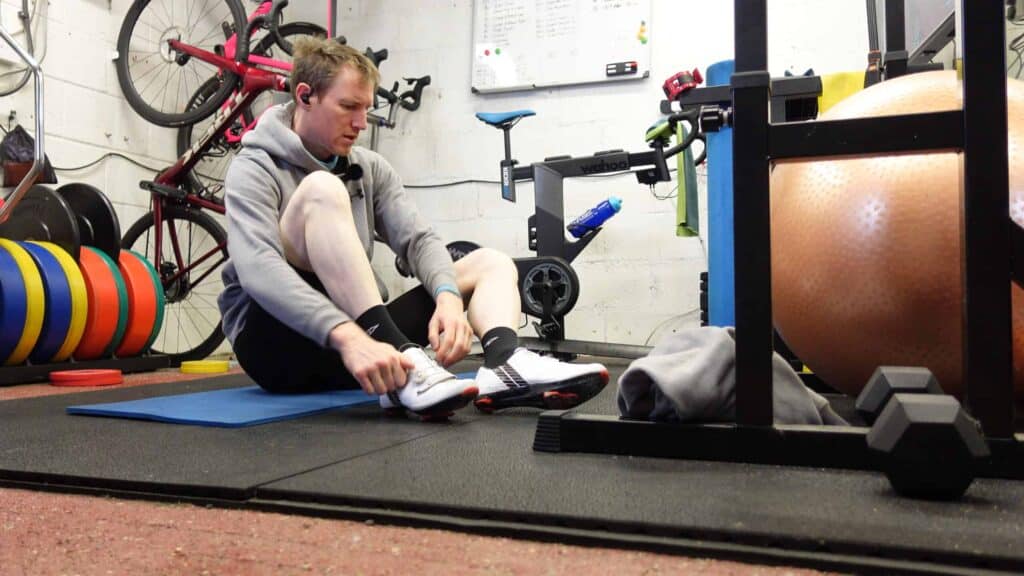
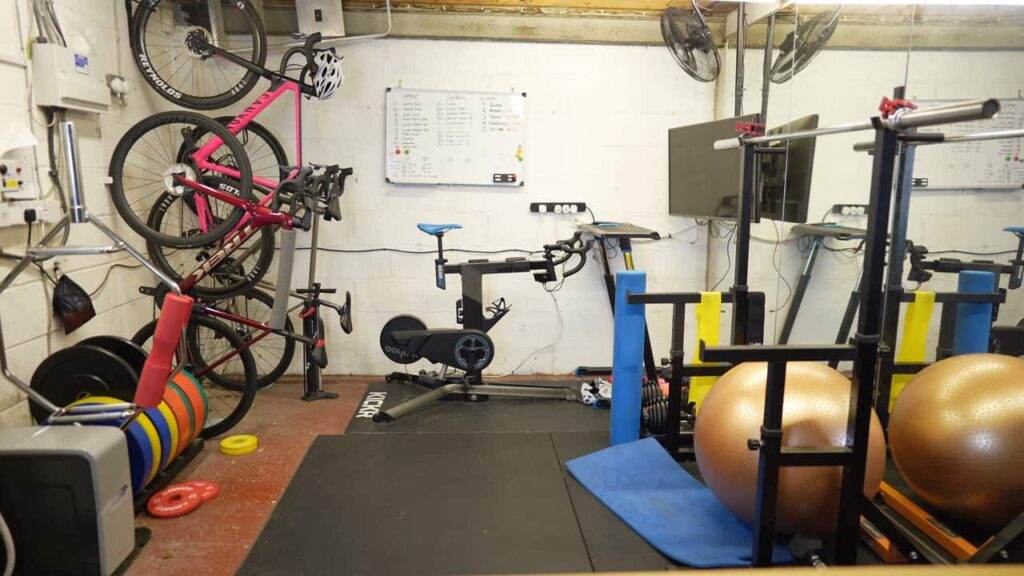
Choose a Suitable Location
The first thing you need to do when setting up your trainer is to find a suitable location in your home. You’ll want to pick a room where you can comfortably fit your trainer setup, so be sure to measure your stationary bike.
You’ll also want a quiet room where you can ride without distractions – and without disturbing anyone else. You probably should have an electrical outlet close by.
Of course, you don’t want your bike to wobble or be off-balance. Instead, you’ll want to ensure that the room you’ve chosen has a flat, even surface. You can also protect your floor with a workout or trainer mat to keep it intact.
How to Set Up a Bike Trainer
Setting up standard bike trainers is quick and easy, and usually involves some simple assembly. The trainer should come with instructions on unfolding or extending the frame and attaching legs or stabilizing mechanisms.
For most brands, you can also find videos on how to set up your trainer online.
Install the Bike
Setting up a wheel-on bike trainer
- Replace your rear tire with a bike trainer tire for a quieter and longer-lasting workout (optional).
- Inflate the bicycle tire pressure to allow for a tight squeeze. This will provide better traction during indoor training.
- Replace the rear quick-release skewer with the one that came with the bike trainer. You can use the supplied quick-release adaptor if you have a disc brake bike.
- Mount your bike onto the bike trainer stand, making sure that it is securely locked. You can use a front wheel riser or block to level the front wheel.
It’s important to note that a wheel-on trainer may not be the best choice for your mountain bike. Instead, direct-drive trainers are better suited for most bicycle types, including mountain bikes.
Setting up a direct-drive bike trainer
- Before you get started, you may want to buy an extra cassette for your smart trainer setup. If you have one, you can mount it onto the direct-drive trainer.
- Shift gears to the smallest sprocket and remove the original rear wheel from your bike. Remember to use a brake pad spacer if you have a disc brake to prevent rubbing.
- Mount the outdoor bike onto the trainer, ensuring that the quick-release adaptor is securely locked. Tighten the skewer to keep the bike stable and in place.
When you’re setting up direct-drive bike trainers, you’ll want to be comfortable with removing your rear wheel. Removing your rear wheel is simple, though, and will get easier the more you do it.
Secure the Bike
If you want to ensure that your bike is secure, you’ll first need to align the wheel of your bike onto the trainer’s roller. Or, you should align the dropout with the trainer’s mechanism, depending on what type of trainer you have.
Next, you’ll want to install the bike and tighten the quick-release lever to secure it. You can also try to move the bike around or sit on the bike to make sure that it’s going to stay in place.
Adjust the Resistance
Use the adjustment mechanism on your trainer to increase or decrease the resistance to suit your needs. Trainers usually come with instructions on how to do this, so remember to consult the manual!
Then, you can follow the instructions to achieve your desired difficulty level or simulate different terrains.
Test the Setup
Before you start training indoors, you’ll want to make sure that your bike is ready for action. You’ll want to check the quick-release or mounting mechanisms, tighten any loose components, and ensure the bike is aligned properly.
You can also give the pedals a few rotations to confirm that it’s safe for indoor cycling.
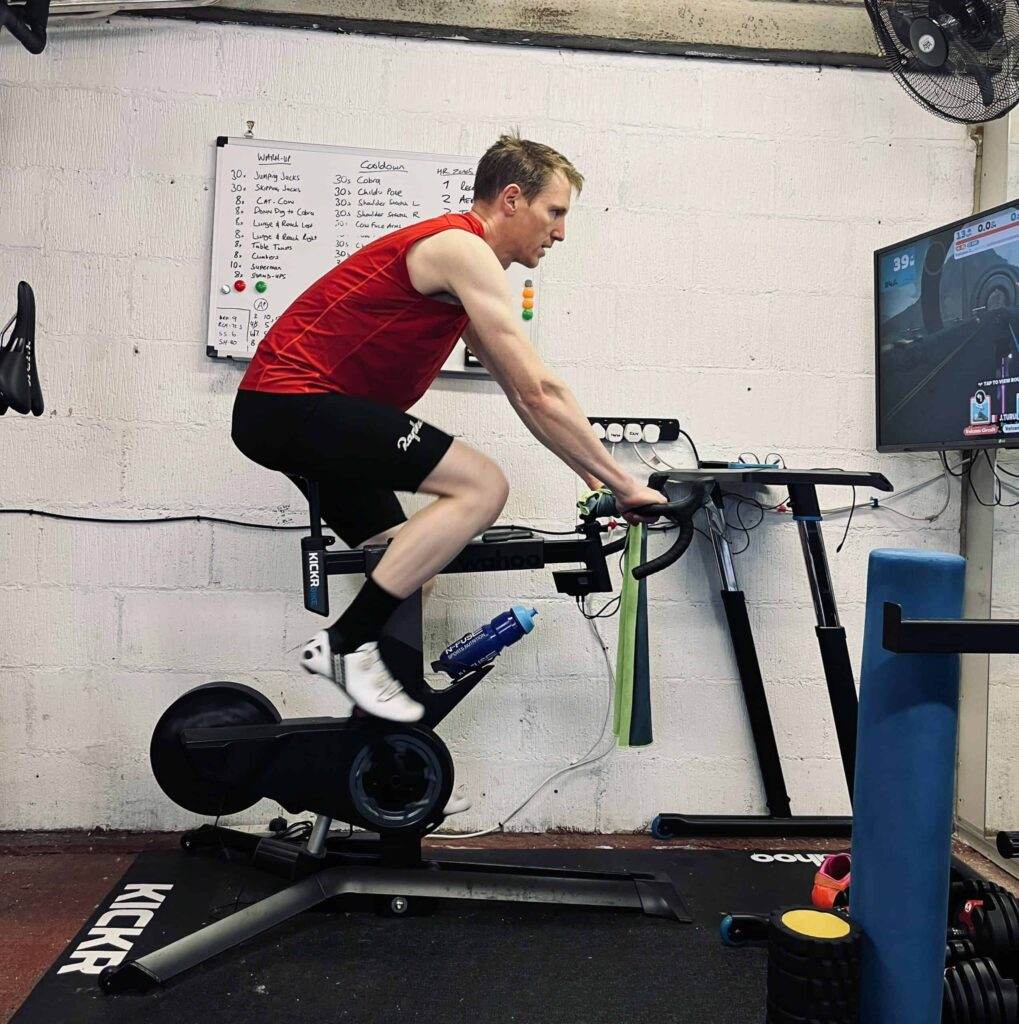
Tips for Using a Bike Trainer
Using a stationary bike is just as challenging as going for a ride outdoors. Luckily, we’ve got some tips for using your new trainer to make it a more enjoyable experience!
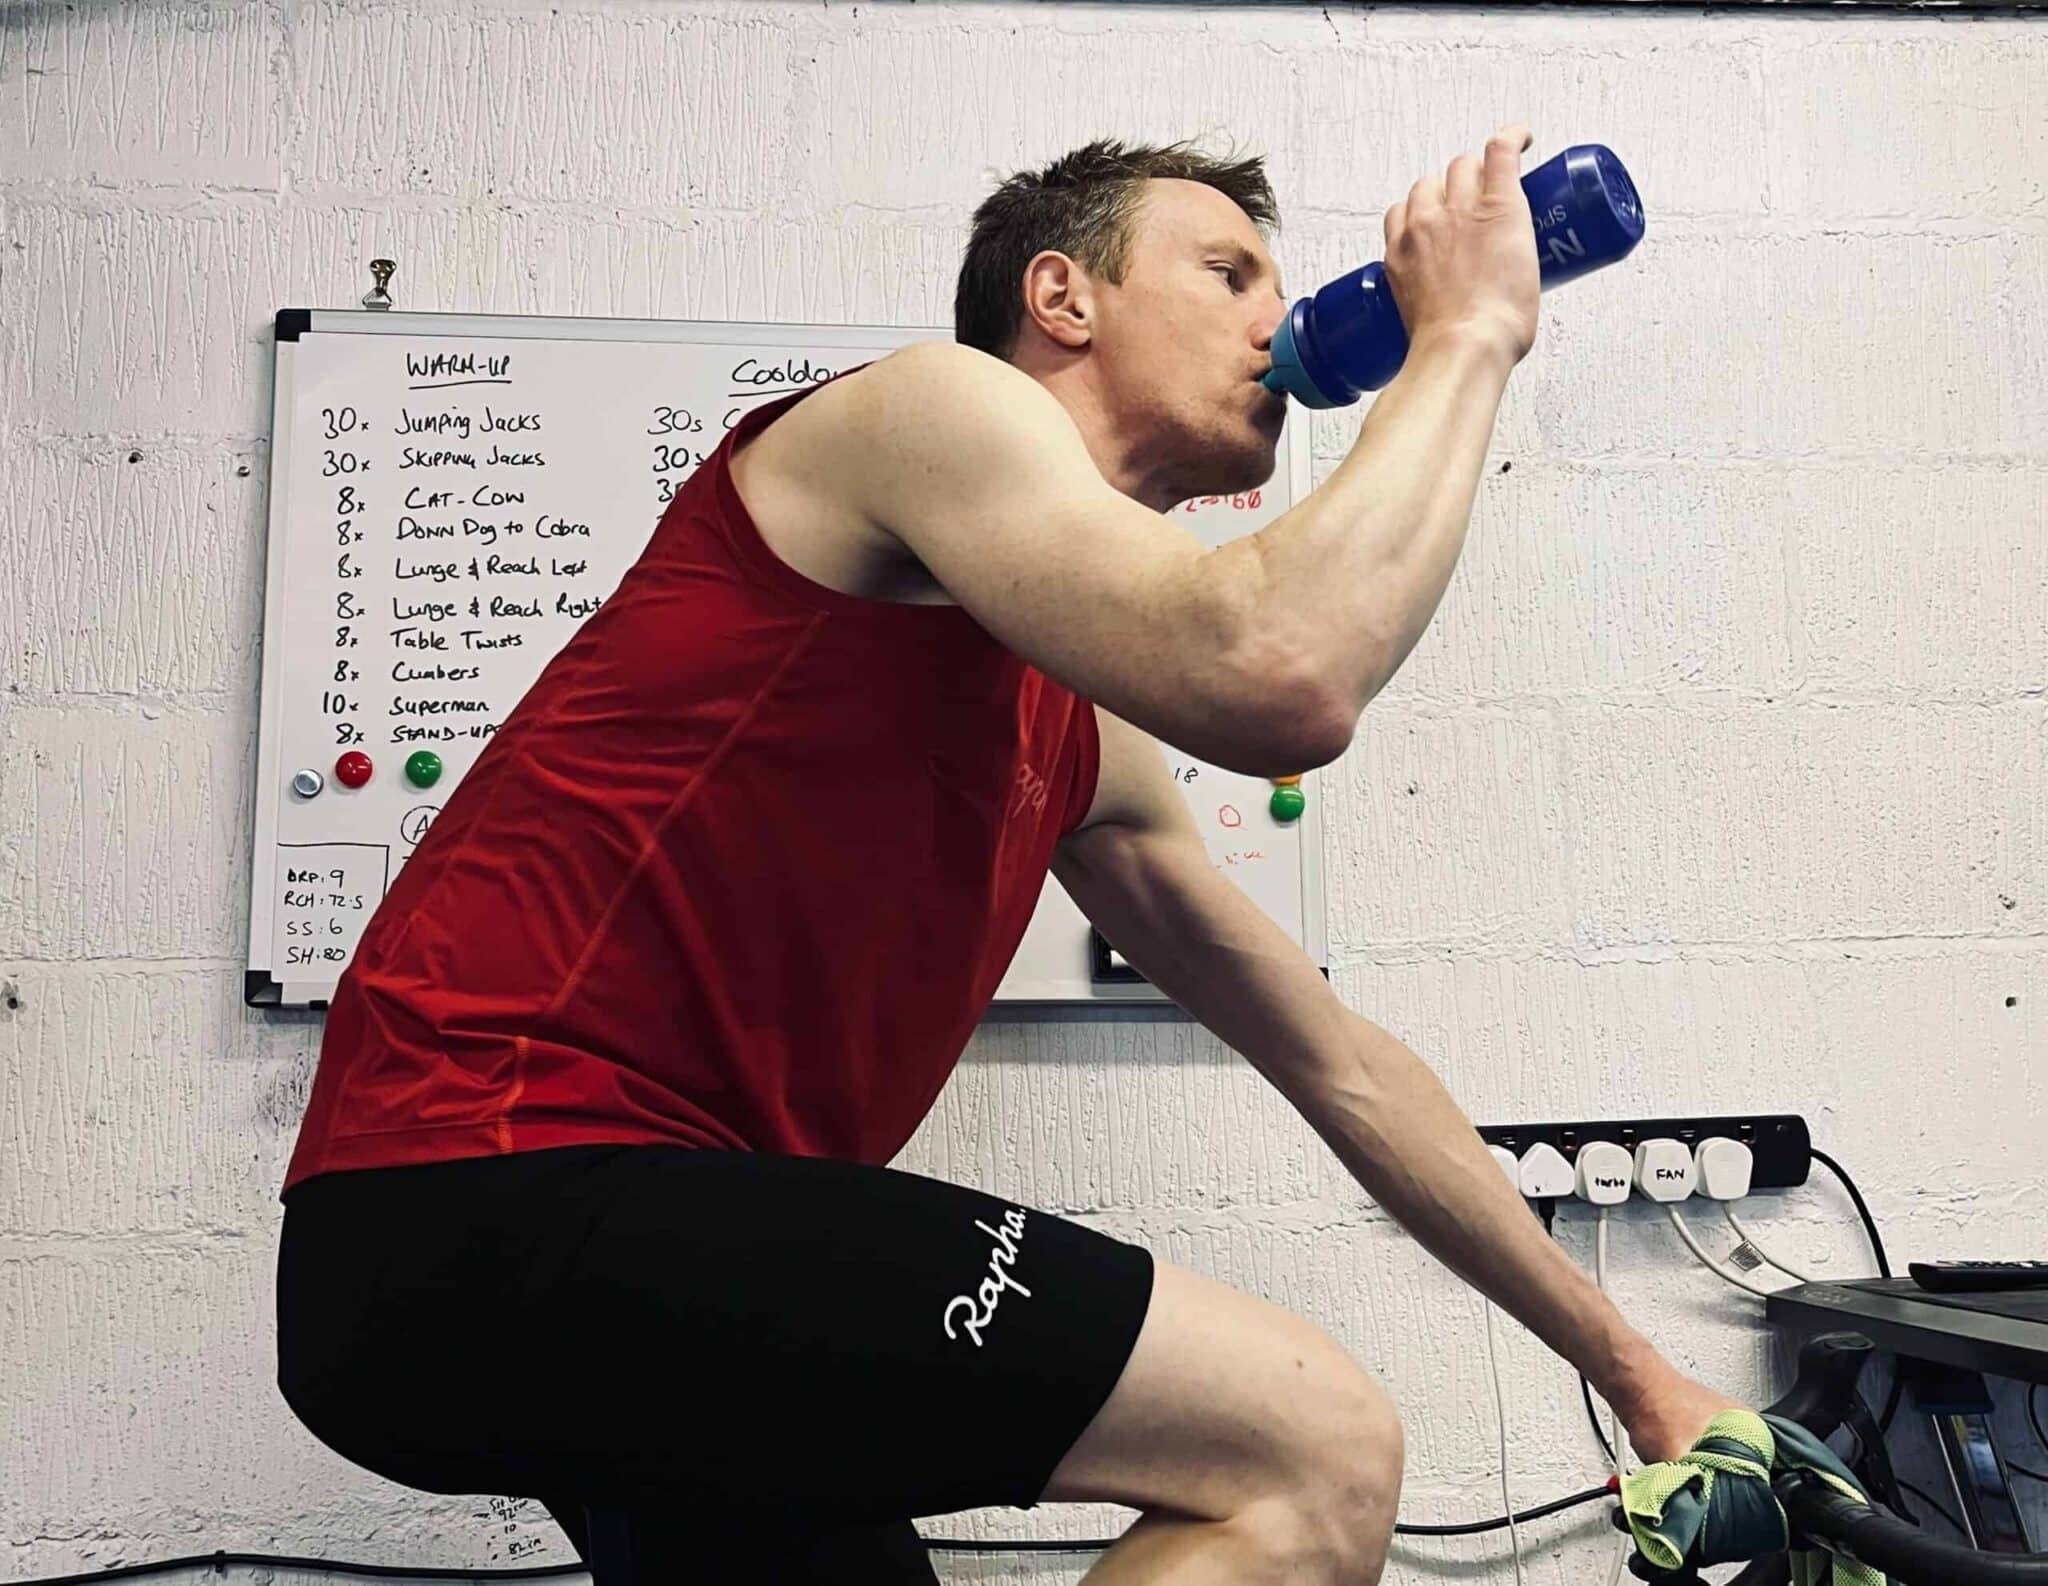
- Warm-up and cool down properly to avoid straining your muscles and joints
- Use a fan for extra ventilation and to help keep you cool
- Mix up your workout to simulate outdoor conditions
- Use a training plan for consistency
- Stay hydrated and keep water on hand – even when you’re indoors!
Frequently Asked Questions
Where is the best place to put a bike trainer?
When choosing a location for your bike trainer, you need a space that’s at least four feet wide and eight feet long, similar to the size of a twin bed or a single bed if you’re in really tight quarters.
It’s important to have enough room to comfortably pedal and move around without running into walls or furniture. If possible, we recommend setting up your trainer in a well-ventilated area to help keep you cool during workouts.
How do you set up a trainer wheel?
Setting up a trainer wheel requires a few simple steps. First, you need to change your rear tire to a bike trainer tire, which will be quieter, last longer, and won’t smell like burning rubber.
Next, inflate the rear tire to a tire pressure that allows you to squeeze it a little bit. Don’t inflate it too hard, as you may get less traction with the trainer’s cylinder.
Do you need a special wheel for a bike trainer?
While it’s not absolutely necessary to use a special wheel for a bike trainer, we recommend using a turbo-specific rear tire.
These tires are specifically designed for bike trainers, so they tend to be quieter and last longer than standard tires, reducing wear and tear on both your bike and the trainer.
What are common mistakes when setting up a bike trainer?
Common mistakes when setting up a bike trainer include not properly securing your bike to the trainer, not leveling the trainer on an uneven surface, and not calibrating the resistance settings correctly.
Make sure to read and follow the manufacturer’s instructions carefully to avoid these issues. Additionally, it’s essential to ensure your bike is compatible with the trainer you’re using to avoid any damage to either the bike or the trainer.
Are bike trainers safe for your (carbon) bike?
Yes, bike trainers are generally safe for both carbon and non-carbon bikes as long as you use them correctly and follow the manufacturer’s guidelines.
However, trainers can wear down your rear tire quicker than road cycling, so it’s important to use a turbo-specific rear tire designed for use with bike trainers to extend the tire’s lifespan.
How do you use a bike trainer effectively?
To use a bike trainer effectively, we recommend incorporating variety into your workouts and taking advantage of the trainer’s built-in features. For instance, you can connect a smart trainer to popular training apps like Zwift to make your workouts more interactive and engaging.
Additionally, make sure to maintain proper form and posture while on the trainer and focus on interval training, alternating between high-intensity and low-intensity sessions to maximize the benefits of your indoor cycling workout.
Can you put any bike on a bike trainer?
While the majority of bikes, including road, mountain, and hybrid bikes can be used with a bike trainer, compatibility hinges on the specific design of both the bike and the trainer. Always verify the compatibility between your bike’s axle or wheel size and the trainer’s requirements before purchase.